
We have all received that generic feedback slip at the end of a meeting. The evaluator writes five vague words that are supposed to change your life:
“You need more vocal variety.”
It is the most common, yet least understood piece of advice in public speaking.
When most speakers see this, they panic. Their instinct is to turn the volume knob to 11. They start projecting like a Shakespearean actor in a storm. They shout their main points. They exaggerate their highs and lows until they sound like a cartoon character.
But in the world of modern audio engineering, “loudness” isn’t what makes a track interesting. Dynamic Range is.
Dynamic Range is the technical difference between the quietest sound and the loudest sound in a recording. If you are loud 100% of the time, you aren’t exciting; you are just noise. On an audio graph, you look like a flat brick wall of sound. It is exhausting to listen to.
To truly hack vocal variety, you don’t need to scream. You need to do the opposite. You need to create contrast. You need to master the two most powerful, underused tools in your audio kit: The Whisper and The Pause.
The Whisper: The “Lean In” Effect
Think about the last time you watched a horror movie. When does the scene get scary? It isn’t when the orchestra is blasting. It is when the music cuts out, the room goes silent, and a floorboard creaks.
Low volume creates high tension.
When you lower your voice, you trigger a primal instinct in your audience. Evolution has trained us to pay attention to whispers because whispers usually contain secrets or danger.
When you drop your volume, the audience subconsciously thinks, “Wait, this is for me. I need to hear this.” They physically lean forward in their chairs. The room goes silent. You have captured their total, undivided attention.
How to Execute the “Stage Whisper”: This isn’t an actual whisper (which is just breath and no vocal cords). If you actually whisper, the people in the back won’t hear you.
You want a voiced whisper.
- Drop the Pitch: Go slightly lower in your register.
- Cut the Projection: Stop trying to hit the back wall. Speak to the person in the front row.
- Add Breath: Let a little more air escape with the words.
When to use it:
- Vulnerability: Sharing a mistake, a regret, or a fear.
- Secrets: Telling the audience something “nobody else knows.”
- The Hard Truth: Delivering a reality check to the audience.
- Loud Version: “AND THEN I REALIZED I WAS WRONG!” (This sounds defensive).
- Whisper Version: “And then… I realized… I was wrong.” (This sounds devastating).
The Pause: Buffering Time for the Brain
We live in a TikTok world. We are terrified of “dead air.”
When we speak, we feel a compulsive need to fill every millisecond with sound. If we stop talking for even one second, we feel the awkwardness rising. We think the audience is judging us, or worse, checking their phones. So we fill the gaps with “Umm,” “Ahh,” or we just talk faster to bridge the gap.
But here is the truth: Silence is not empty. Silence is heavy.
A pause is not a glitch in the audio; it is the enter key. It is the moment you let your last sentence land, upload, and sink into the audience’s brain. Without the pause, your audience is drinking from a firehose. They cannot process the data fast enough.
The “3-Second Rule” for Drama: When you deliver a punchline, a shocking statistic, or a deep emotional statement, you must stop. Count to three in your head.
- Second 1: They hear the words physically.
- Second 2: They process the meaning intellectually.
- Second 3: They feel the impact emotionally.
If you start talking at Second 1, you rob them of the impact. You step on your own moment.
💡 Pro Tip: The “Time Dilation” Glitch
Here is why pauses are so hard: Time feels different on stage.
A 3-second pause feels like 3 seconds to the audience. But to you, standing in the spotlight with adrenaline pumping, it feels like 3 hours. Your internal clock is moving faster than reality. You will panic and want to break the silence.
Don’t trust your internal clock. Trust the external one.
Practice your pauses with a visual timer. Watch the seconds tick by so you learn what “actual silence” feels like.
The “Drop”: Combining Them for Maximum Impact
The best EDM DJs know that the biggest moment in a song isn’t the build-up; it’s the drop.
You can create a “Speech Drop” by combining these two techniques to create massive vocal variety.
- The Build Up: Speak at a normal or slightly elevated volume. Increase your pace. Get the audience excited. Give them the data.
- The Cut: Suddenly stop (The Pause). Hold it longer than comfortable.
- The Drop: Deliver your final point in a low, intense voice (The Whisper).
The Example: (Fast, Normal Volume) “We tried everything. We worked nights, we worked weekends, we spent every dollar we had in the bank account trying to fix this problem…” (Pause – 2 full seconds) (Whisper) “…but it wasn’t enough.”
That contrast creates drama. It takes the audience on a rollercoaster ride instead of a commute on a flat highway.
Control the Fader
Your voice is an instrument, but it’s also a mixing board. You have a fader for volume and a button for mute.
The next time you are preparing a script, highlight the sections where you want to be loud. But more importantly, highlight the sections where you want to be quiet.
Mark your pauses. Script your silence.
Don’t just be a speaker. Be an audio engineer.
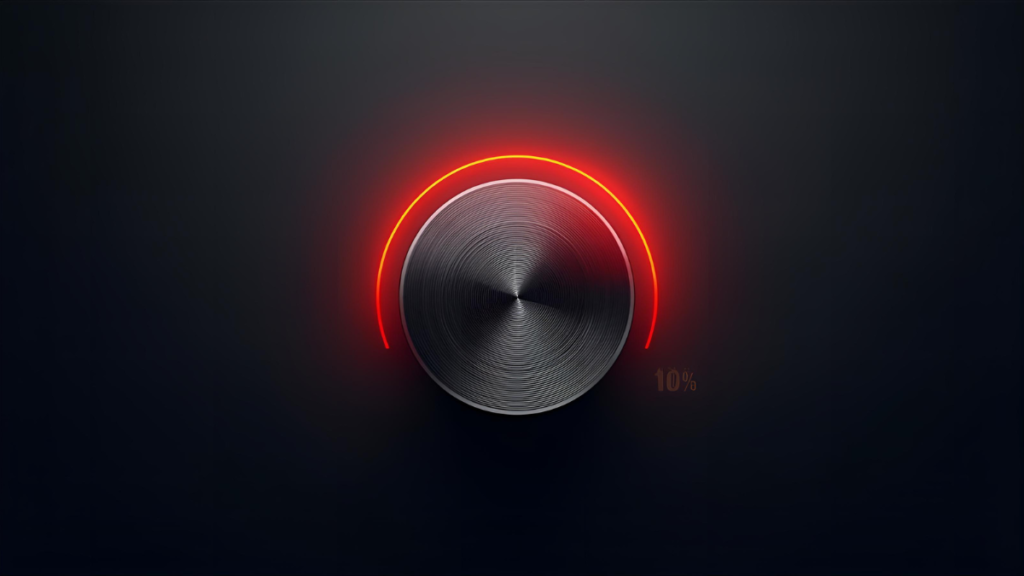
Ready to check your timing?
Silence requires discipline. Use our tool to practice holding that pause without panicking.
Launch the Unofficial Speech Timer
Disclaimer: This guide is a personal resource created by Jel Salamanca. It is not an official publication of, nor is it affiliated with or endorsed by, Toastmasters International.
